Microsoft Planner enables you to attach files, photos, and links directly to tasks. Users can open a task card and easily access all the related resources, making the plan a central location for everyone to collaborate and work more efficiently.
1. To add an attachment, open the task card.
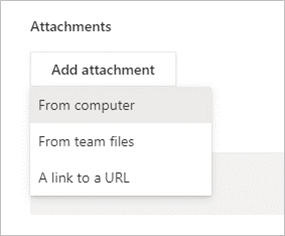
2. Select Add attachment.
3. Select From computer to attach a locally saved file, select From team files to attach a file from Microsoft Teams, or select A link to a URL to include a file link or URL.
4. Find and select your chosen file or enter the link.
Add a Task Preview
In Microsoft Planner, each task with attachments can have a preview image displayed while in Board view. This provides a quick way to identify the task and its attachments. For example, you could use an Office file, PDF, photo, link, checklist, or even simple description text.
1. Open the task card.
2. To add a preview image, ensure that you have already uploaded an attachment to the task. If not, do so now.
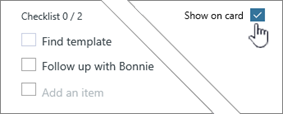
3. Find the file you want to display as the preview image and select Show on card.
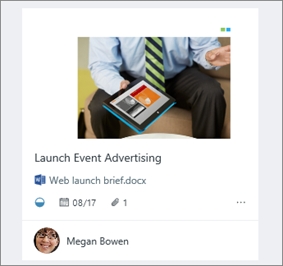
4. The file will now display as a preview image on your task card.
You can also choose to display a Checklist or Description as preview text on your task card. Simply select Show on a card next to the option you want to display.
Remove a Task Preview
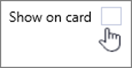
To remove a preview from a task, open the task card and uncheck the Show on card box for that item. The preview image will now be cleared.
What is Microsoft Planner?
Microsoft Planner is an app available in the Microsoft 365 suite designed to track tasks and activities. Planner is accessible on desktop, mobile and web devices.